The Desktop (GUI)
The Windows Desktop, aka the graphical user interface or GUI in short, is the screen that welcomes you once you log into a Windows 10 machine.
Traditionally, you need to pass the login screen first. The login screen is where you need to enter valid account credentials; usually, a username & password of a preexisting Windows account on that particular system or in the Active Directory environment (if it's a domain-joined machine).
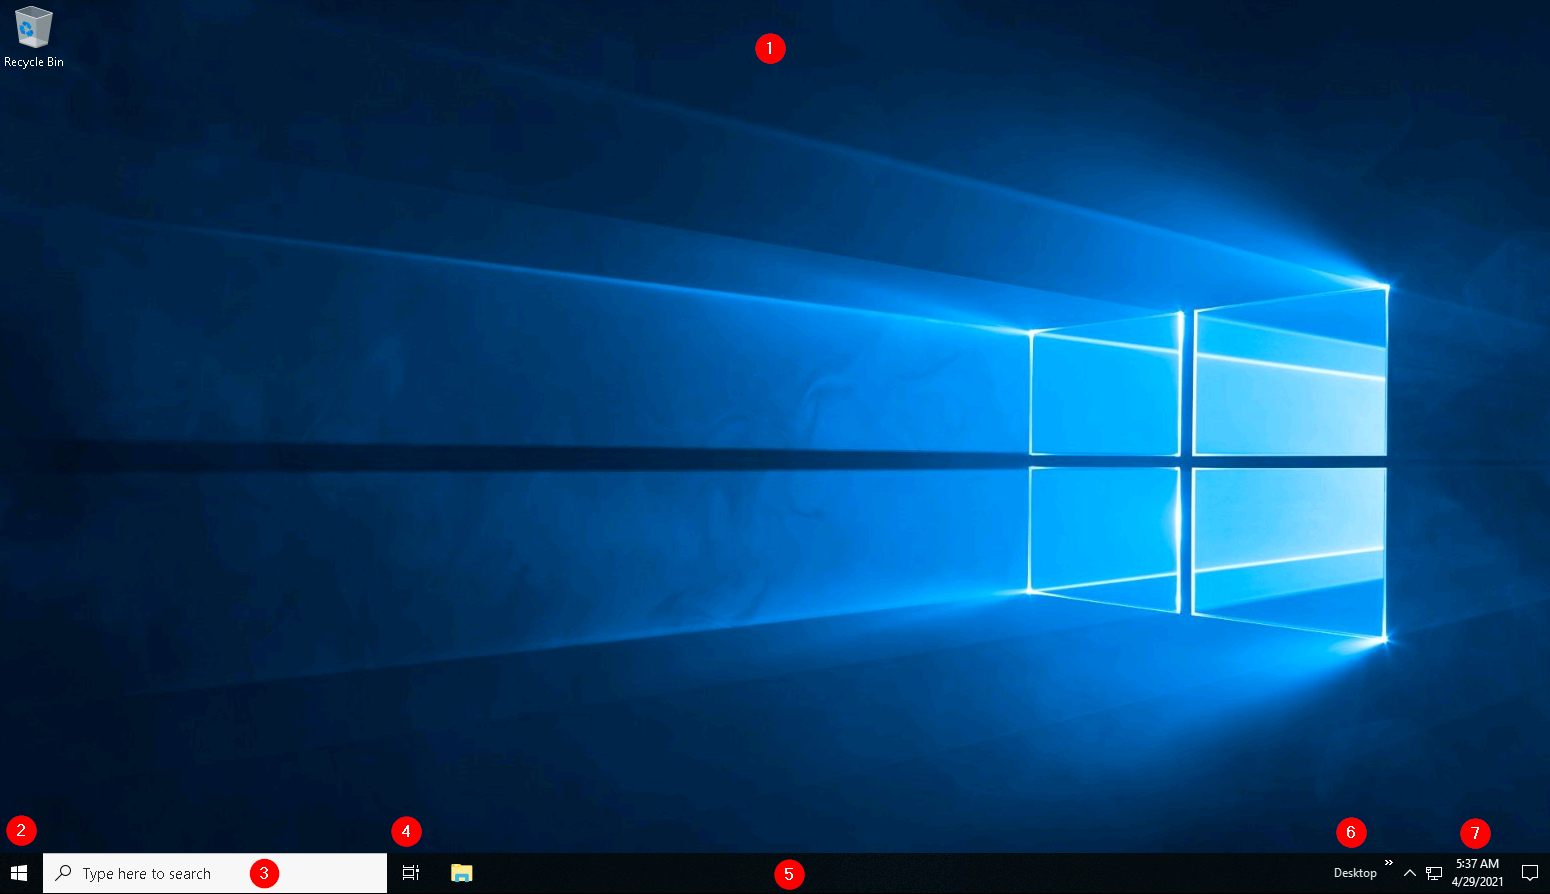
The above screenshot is an example of a typical Windows Desktop. Each component that makes up the GUI is explained briefly below.
- The Desktop
- Start Menu
- Search Box (Cortana)
- Task View
- Taskbar
- Toolbars
- Notification Area
The Desktop
The desktop is where you will have shortcuts to programs, folders, files, etc. These icons will either be well organized in folders sorted alphabetically or scattered randomly with no specific organization on the desktop. In either case, these items are typically placed on the desktop for quick access.
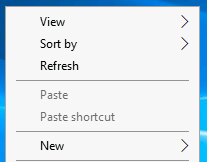
The look and feel of the desktop can be changed to suit your liking. By right-clicking anywhere on the desktop, a context menu will appear. This menu will allow you to change the sizes of the desktop icons, specify how you want to arrange them, copy/paste items to the desktop, and create new items, such as a folder, shortcut, or text document.
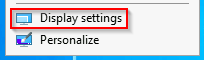
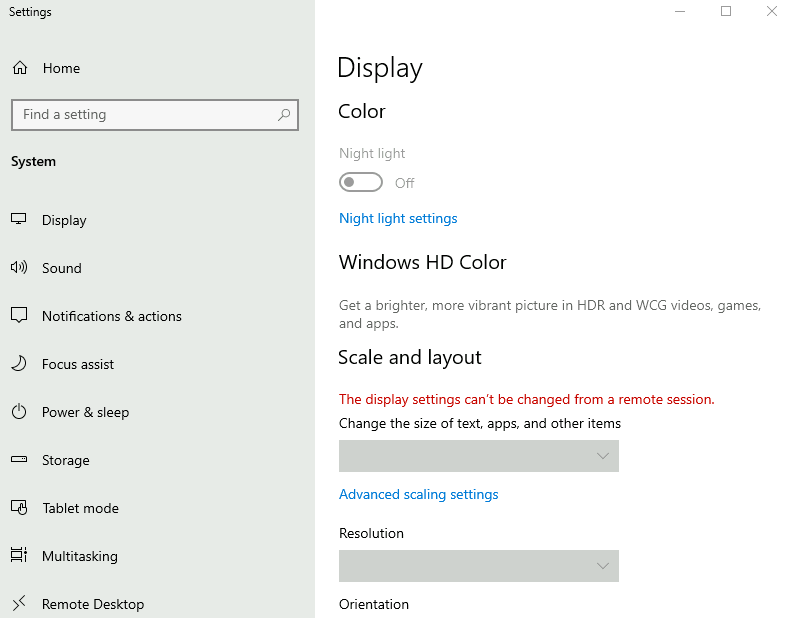
Under Display settings, you can make changes to the screen's resolution and orientation. In case you have multiple computer screens, you can make configurations to the multi-screen setup here.
Note: In a Remote Desktop session, some of the display settings will be disabled.
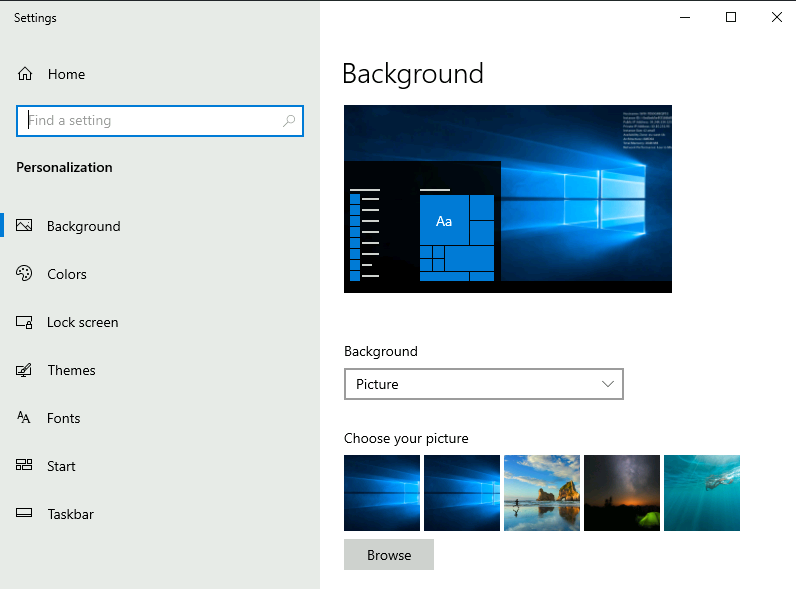
You can also change the wallpaper by selecting Personalize.
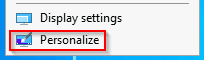
Under Personalize, you can change the background image to the Desktop, change fonts, themes, color scheme, etc.
The Start Menu
In previous versions of Windows, the word Start was visible at the bottom left corner of the desktop GUI. In modern versions of Windows, such as Windows 10, the word 'Start' doesn't appear anymore, but rather a Windows Logo is shown instead. Even though the look of the Start Menu has changed, its overall purpose is the same.
The Start Menu provides access to all the apps/programs, files, utility tools, etc., that are most useful.
Clicking on the Windows logo, the Start Menu will open. The Start Menu is broken up into sections. See below.
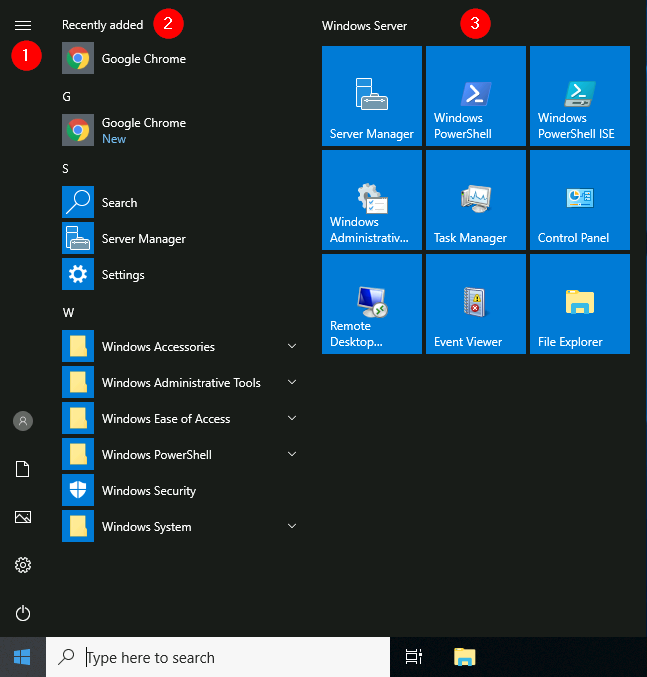
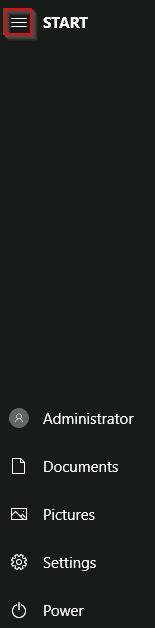
- This section of the Start Menu provides quick shortcuts to actions that you can perform with your account or login session, such as making changes to your user account, lock your screen, or signing out of your account. Other shortcuts specific to your account are your Documents (document icon) folder and Pictures folder (pictures icon). Lastly, the gear/cog icon will take you to the Settings screen, and the power icon will allow you to Disconnect from a Remote Desktop session, shut down the computer, or restart the computer.
- In the below image, you can see what each of the icons represents. To expand this section, click on the icon that resembles a hamburger at the top.
- In the below image, you can see what each of the icons represents. To expand this section, click on the icon that resembles a hamburger at the top.
- this section will show all Recently added apps/programs at the top and all the installed apps/programs (that are configured to appear in the Start Menu). In this section, you'll also see the apps/programs will be listed in alphabetical order. Each letter will have its own section. See below.
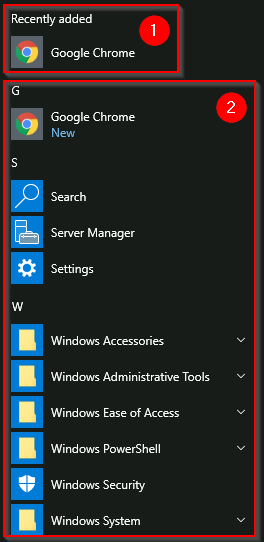
- In the above image, the first box is where the recently added apps/programs will appear. The second box is where all the installed apps/programs will appear.
- Note: In your VM, Google Chrome will not show up as a Recently Added program anymore.
- If you have a LONG list of installed apps/programs, you can jump to a particular section in the list by clicking on the letter headings to launch an alphabet grid. See below.

- Note: The white letters match the letter headings.
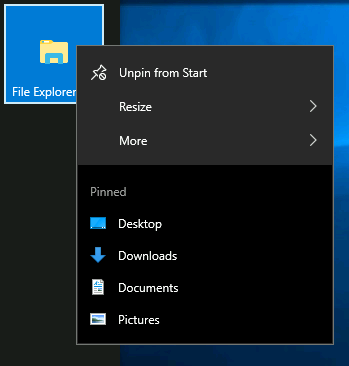
- The right side of the Start Menu is where you will find icons for specific apps/programs or utilities. These icons are known as tiles. Some tiles are added to this section by default. If you right-click any of the tiles, you guessed it; a menu will appear to allow you to perform more actions on the selected tile; such as resizing the tile, unpinning from Start Menu, view its Properties, etc. See below.
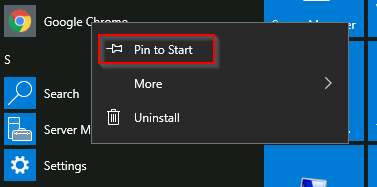
- Apps/programs can be added to this Start Menu section by right-clicking the app/program and selecting Pin to Start. See below.

The Taskbar
Some of the components are enabled and visible by default. The Toolbar (6), for example, was enabled for demonstration purposes.
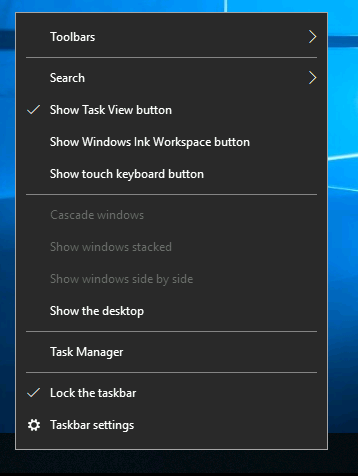
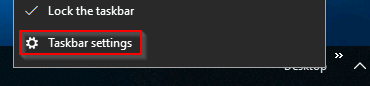
If you're like me and want to disable some of these components, you can right-click on Taskbar to bring up a context menu that will allow you to make changes.
Any apps/programs, folders, files, etc., that you open/start will appear in the taskbar.
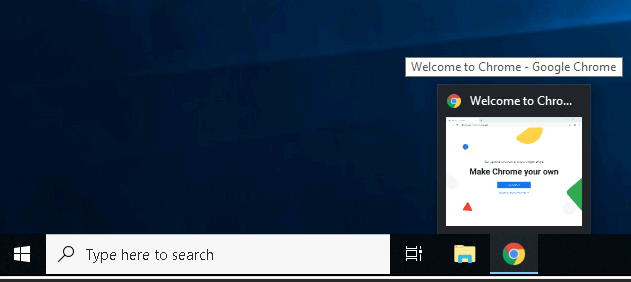
Hovering over the icon will provide a preview thumbnail, along with a tooltip. This tooltip is handy if you have many apps/programs open, such as Google Chrome, and you wish to find which instance of Google Chrome is the one you need to bring in to focus.
When you close any of these items, they will disappear from the taskbar (unless you explicitly pinned it to the taskbar).
The Notification Area
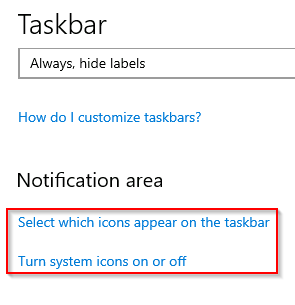
The Notification Area, which is typically located at the bottom right of the Windows screen, is where the date and time are displayed. Other icons possibly visible in this area is the volume icon, network/wireless icon, to name a few. Icons can be either added or removed from the Notification Area in Taskbar settings.
From there, scroll down to the Notification Area section to make changes.
Here are Microsoft's brief documents for the Start Menu and Notification Area.
Tip: You can right-click any folder, file, app/program, or icon to view more information or perform other actions on the clicked item.
Answer the questions below
Which selection will hide/disable the Search box?
Answer: Hidden
Which selection will hide/disable the Task View button?
Answer: Show Task View buttom
Besides Clock and Network, what other icon is visible in the Notification Area?
Answer: Action center